Installation Guide
The following is a guide to get Geonode and Cartoview up and running in most common operating systems (Windows, Linux/Ubuntu).
Recommended Minimum System Requirements
For the deployment of Geonode and Cartoview on a single server, please find the bare minimum system requirements in Geonode’s Documentation.
Windows Installation
Pre Installation
- Download and Install PostgreSQL and PostGIS.
Note
Cartoview requires PostgreSQL and PostGIS release 9.3 or later to be installed. If they are already installed on your system, please proceed to Java Installation.
Download the installer of PostgreSQL from EnterpriseDB. Recommended release is 9.3 or later 32 bits or 64 bits. Please choose the one that is compatible with your system.

Download PostgreSQL
The installation process is straight forward. Just run the downloaded installer, follow the wizard instructions and accept all the default parameters.
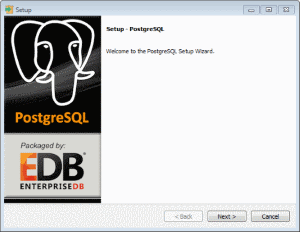
Install PostgreSQL
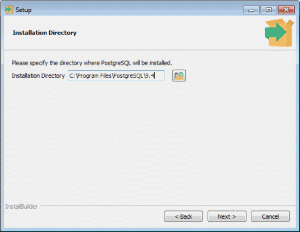
Specify the installation folder
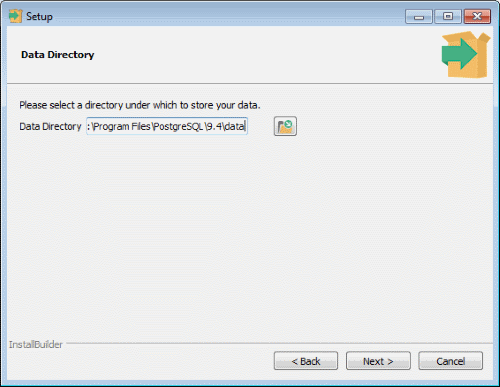
Specify the installation data folder
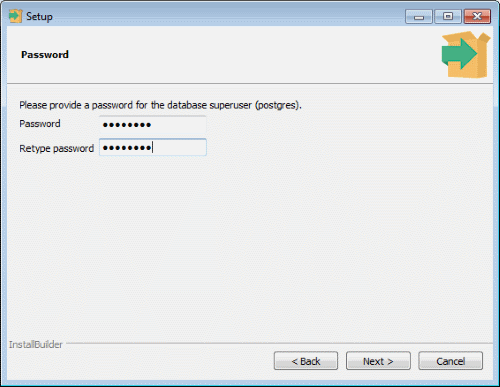
Specify the database administrator password
Note
Keep this password safe because we will need it later during the installation of PostGIS.
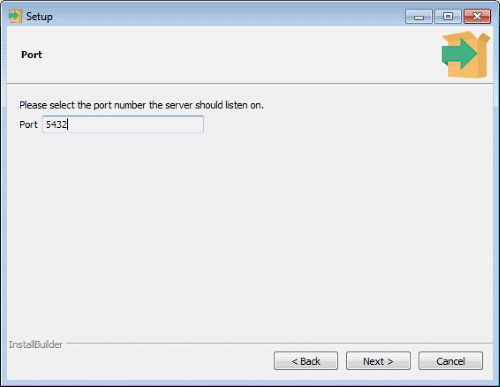
Accept the default port (5432) and click the Next button.
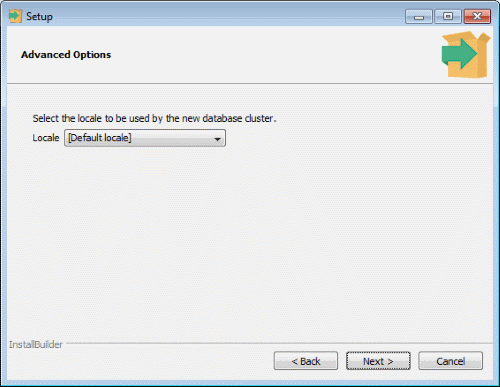
Accept the default locals and click the Next button
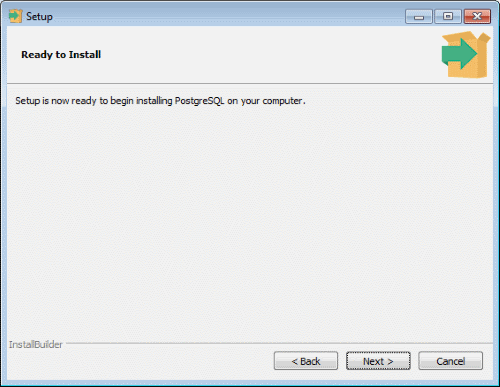
Proceed with the installation, click the Next button
When you reach this point the installation of PostgreSQL is completed. Please make sure that the Stack Builder check box is checked and click Finish to proceed with the installation of PostGIS.
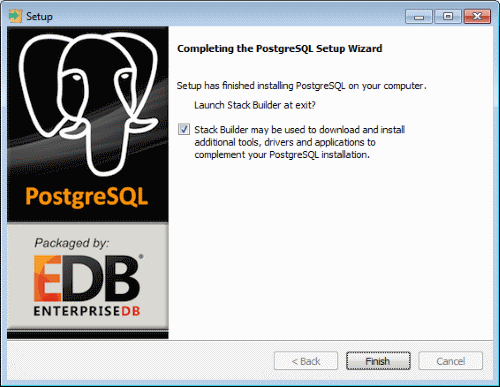
PostgreSQL installation completed
Select PostgreSQL 9.4(x64) on port 5432 from the combo box and click Next.
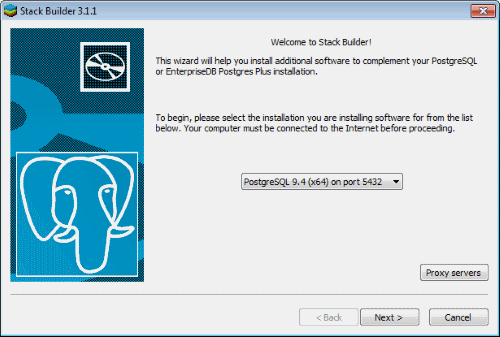
Expand the category Spatial Extensions, select and check the PostGIS 2.2 item from the list, choose the one which is compatible with your system (32 bits or 64 bits).

Review your selection and choose a download directory, then click the Next button to begin downloading PostGIS installer.
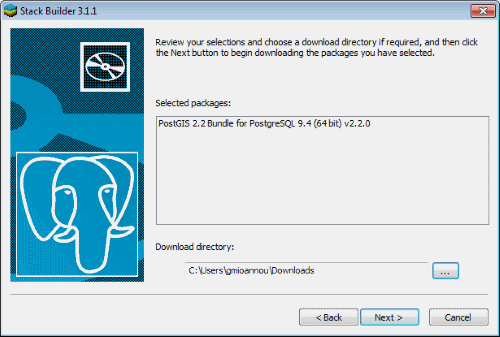
The following dialog will indicate that the downloading of PostGIS installer finished successfully. Click Next to start installing PostGIS.

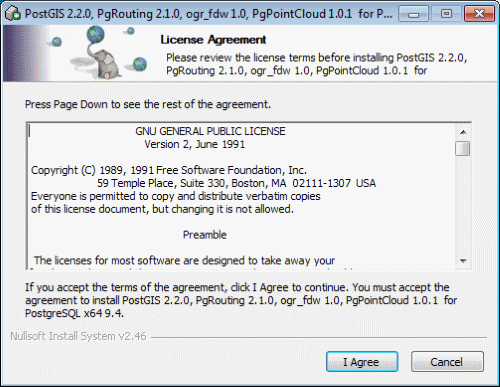
Review the license terms and if you accept them, click on the I Agree button to continue with the installation of PostGIS.
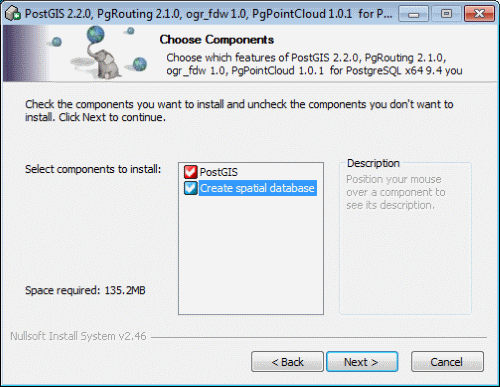
Create spatial database is optional, however it is recommended.
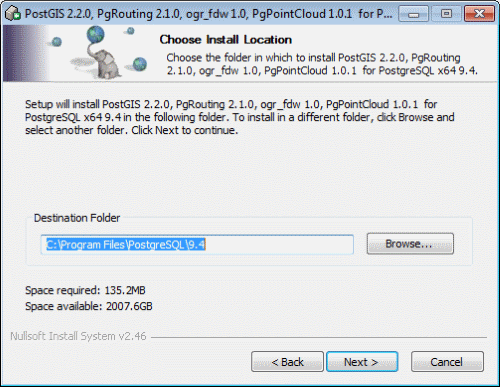
Specify the PostgreSQL installation location in which PostGIS will be installed.
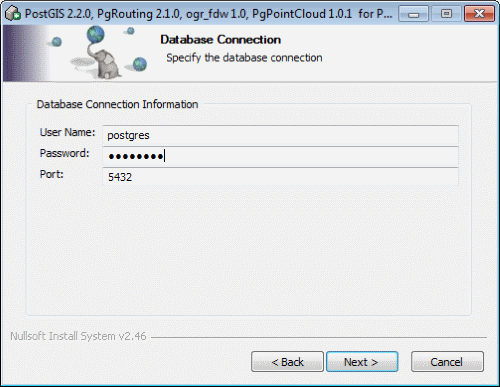
Provide the PostgreSQL connection information (The one you saved in previous step).
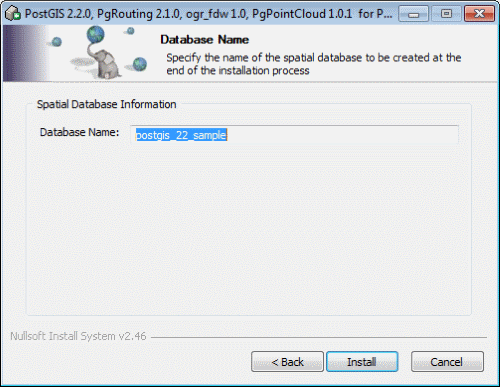
Specify the name of the spatial database to be created at the end of the installation process. Accept the default is recommended.
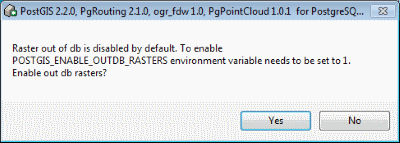
Just click on the Yes button.
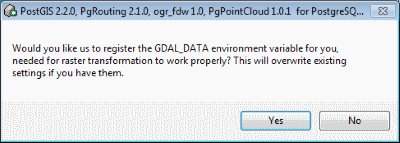
Just click on the Yes button.
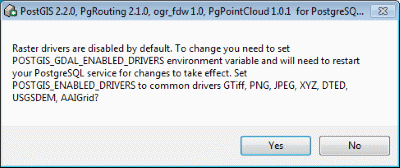
Just click on the Yes button.
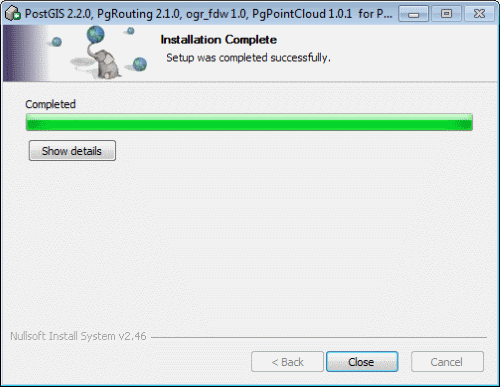
PostGIS setup was competed successfully. Just click on the Close button to return to the Stack Builder.
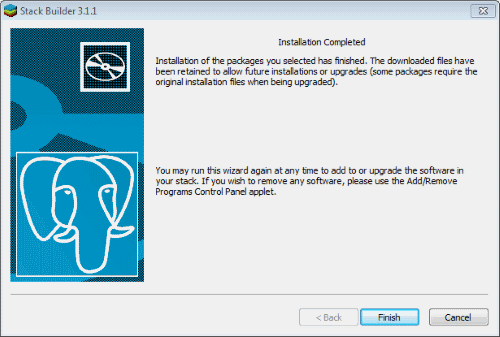
Installation of PostgreSQL database and PostGIS spatial extension has been completed successfully. Just click on the Finish button to complete the installation process.
Note
Verify that your Postgres and PostGIS is running using pgAdminIII.
- Download and install the latest release of Java Runtime 64-Bit from Oracle
Note
Cartoview requires Java runtime 64-Bit release 7 or later to be installed. If it is already installed on your system, please proceed to Cartoview Installation.
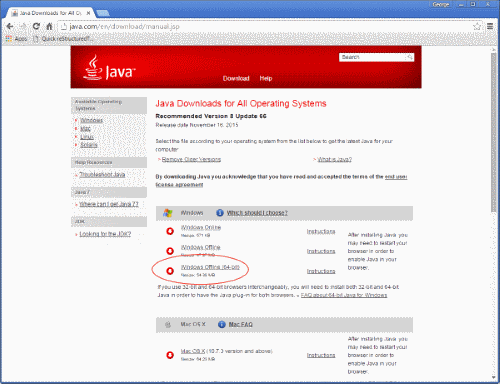
Java Runtime installer download page
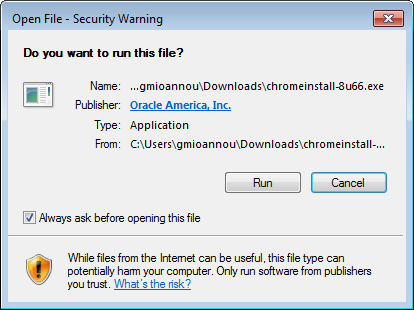
Java Runtime installation wizard
A few brief dialogs confirm the last steps of the installation process. Click Close on the last dialog and this will complete Java installation process.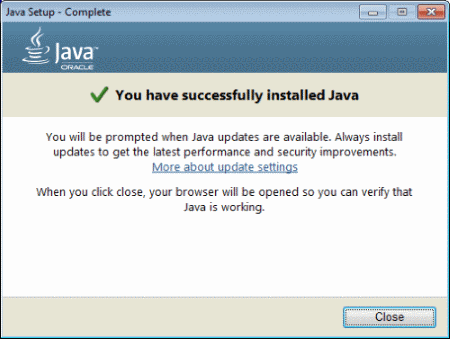
Java Runtime installation completed
Important
Now you are ready to proceed with the installation of Geonode and Cartoview.
Geonode and Cartoview Installation
Note
This installer contains Geonode 2.4 and Cartoview 0.9.14. Cartoview has been tested with PostGIS 2.1 and Geonode 2.4
Download the latest release of Geonode_Cartoview Installer from Cartologic.

The installation process is straight forward. Just run the downloaded installer and follow the wizard instructions. Accepting the defaults is strongly recommented.

Specify the PostgreSQL installation folder.
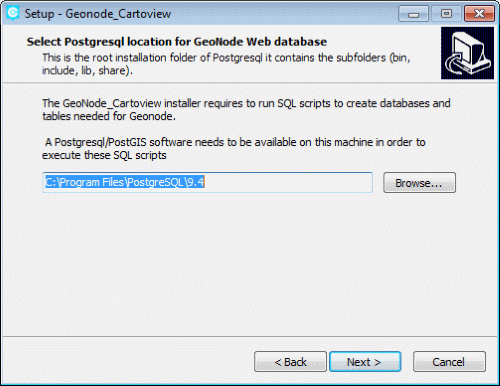
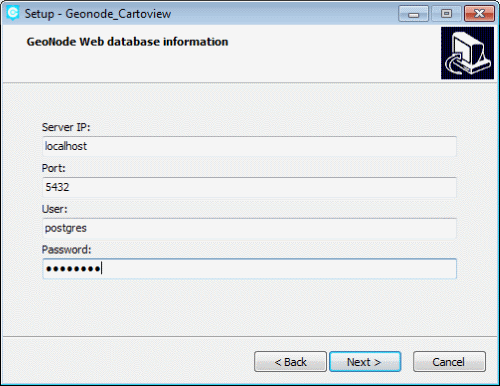
Provide PostgreSQL connection information.
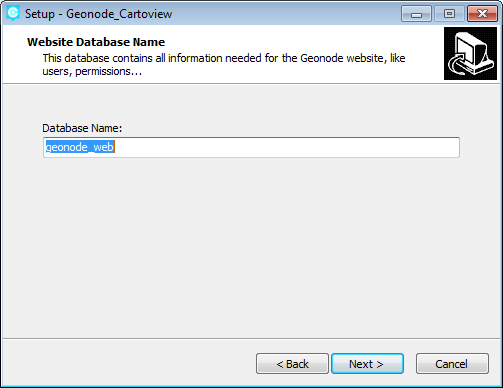
Provide the Geonode database name. This database will host information related to the Geonode website e.g. users, permissions etc.
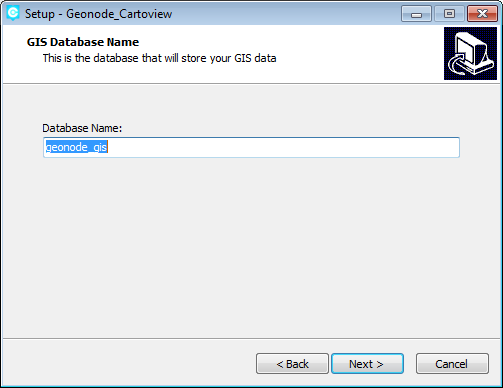
Provide the GIS database name. This database will host the GIS data.
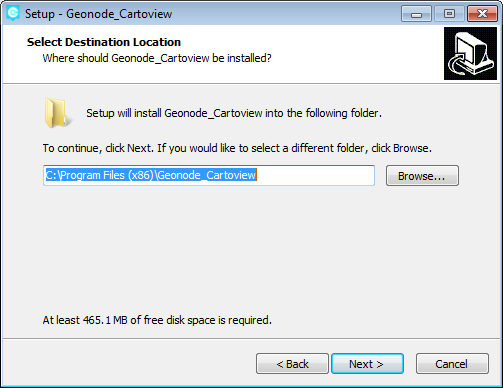
Specify installation folder for Geonode_Cartoview, however accepting the default is recommended.
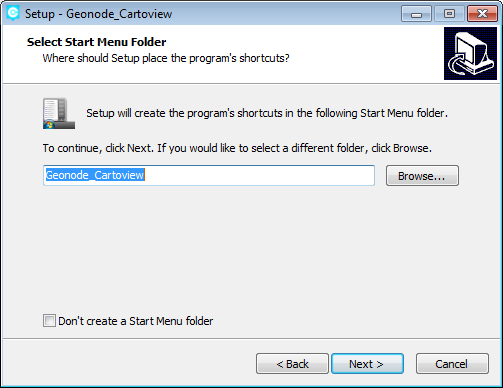
Provide start menu folder name, however accepting the default is again recommended.
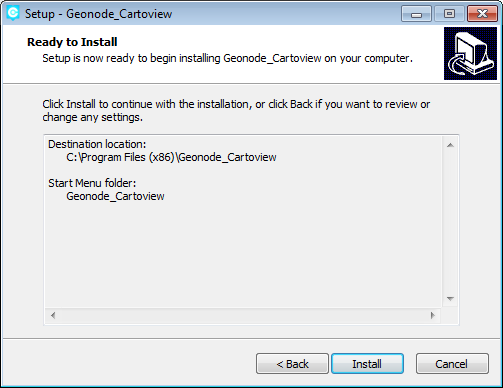
Setup is ready to install Geonode and Cartoview on your machine. Just click the Install button and be patient!
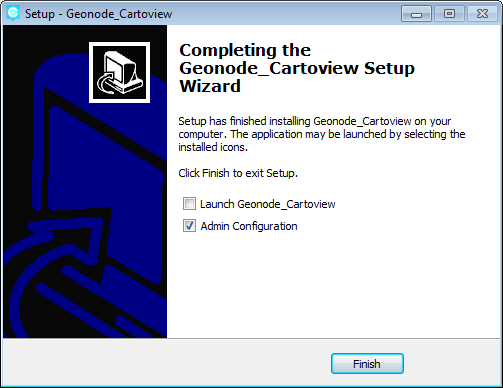
Setup has finished installing Geonode and Cartoview on your computer. Just click the Finish button to launch the home page in your browser.
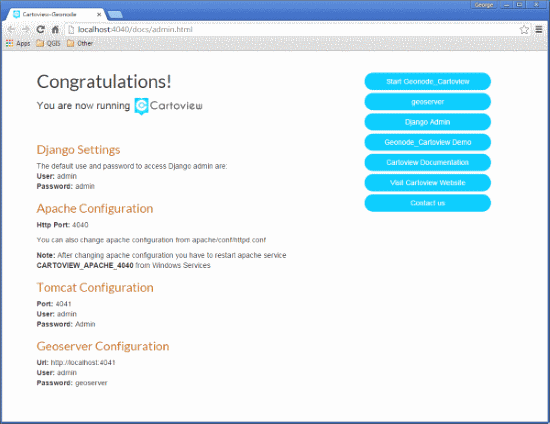
Congratulations! You have successfully installed Geonode and Cartoview on your machine. This is the Admin Configuration page. Click the Start Geonode button to launch the Geonode and Cartoview home page.
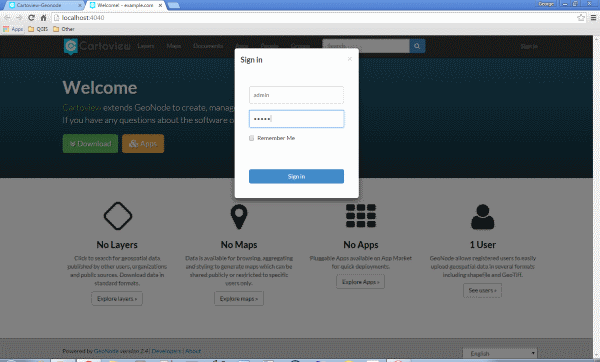
Sign in as admin/admin and start enjoying the experience of Geonode and Cartoview on Windows platform. Upload and style layers, create metadata, compose maps, share layers and maps with others, create and install Apps using Cartoview etc.
Deployment for Production
Danger
Make sure that you have changed the default admin passwords for Django, Apache, Tomcat and Geoserver before you expose your site to the web. All default passwords are listed at the admin page installed with Cartoview.
Windows Firewall Configuration
Note
Cartoview is installed by default on localhost. In order to deploy Cartoview on your production server and make it accessible to other users, you will need to change the hostname and configure all necessary ports.
Configure Windows Firewall
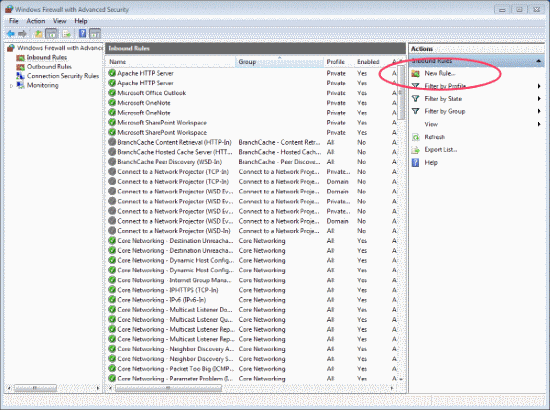
Create a new Inbound Rule to group the configuration of the necessary ports needed for the installed software. Initially, search and launch the Windows Firewall with Advanced Security tool and click on the New Rule button.
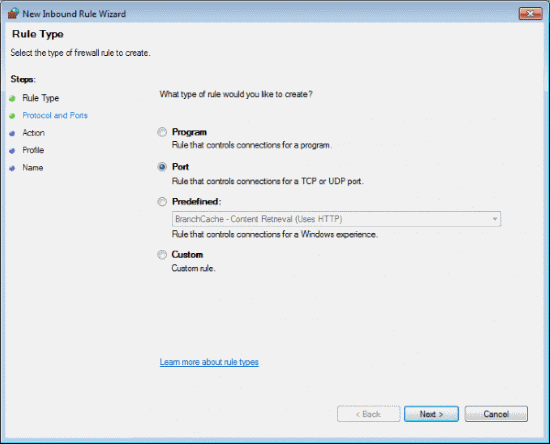
Select Port as the type of Firewall Rule to be applied and click Next.
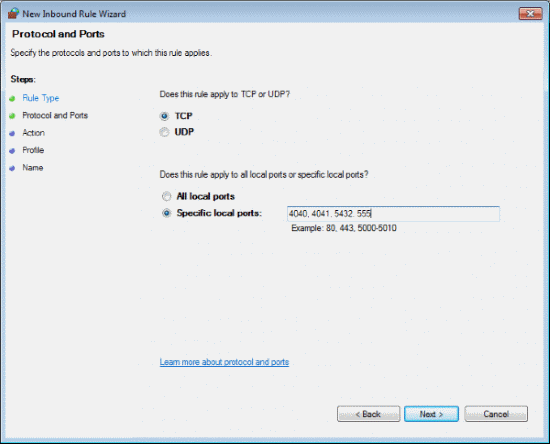
Specify the protocol and ports to which the rule applies and click Next.
Tip
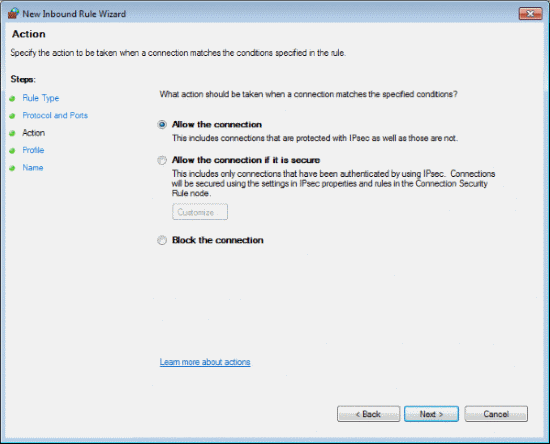
Software Port Geonode 4040 GeoServer 4041 PostgreSQL 5432 SSL 555 Specify the action to be taken when a connection matches the conditions specified in the rule and click Next. (Allow the connection)
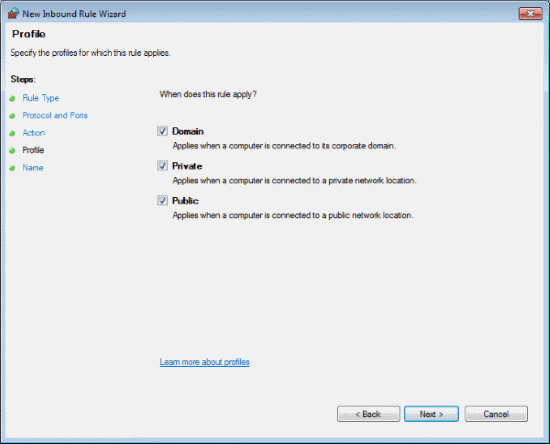
Specify the profiles for which this rule applies. Accepting the defaults is recommended. Finally click Next to proceed to the next step. (All the options checked).
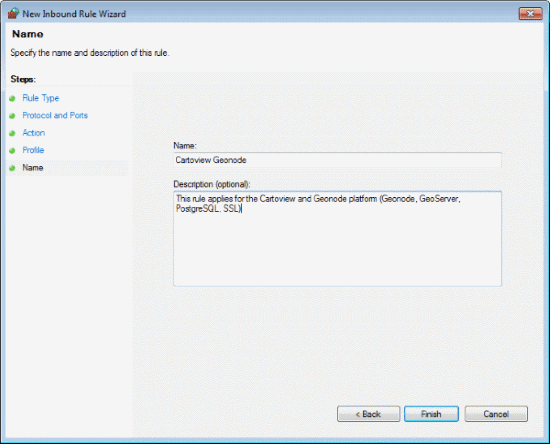
Specify the name and description of this rule and click Finish to complete the process.
Replace localhost with IP Address or Domain Name
- Apache 2.4
Open the Apache configuration file
..\Goenode\Apache24\conf\httpd.conf.Replace localhost with IP Address or Domain Name only for the highlighted lines.
- Geonode 2.4
Open the Geonode configuration file
..\Geonode\geonode\geonode\local_settings.pyReplace localhost with IP Address or Domain Name only for the highlighted lines.
- Tomcat 8.0
Open the Tomcat Geoserver configuration file
..\Geonode\Tomcat 8.0\webapps\geoserver\WEB-INF\web.xmlReplace localhost with IP Address or Domain Name for the highlighted line.
Open the Tomcat Geoserver configuration file
..\Geonode\Tomcat 8.0\webapps\geoserver\data\security\auth\geonodeAuthProvider\config.xmlReplace localhost with IP Address or Domain Name for the highlighted line.
- Restart Services
Restart the Windows services
- GEONODE_APACHE_4040
- GEONODE_TOMCAT_4041
- Geoserver 2.7.4
- Launch Geoserver’s home page at
http://localhost:4040/geoserver/web- Login as admin/geoserver
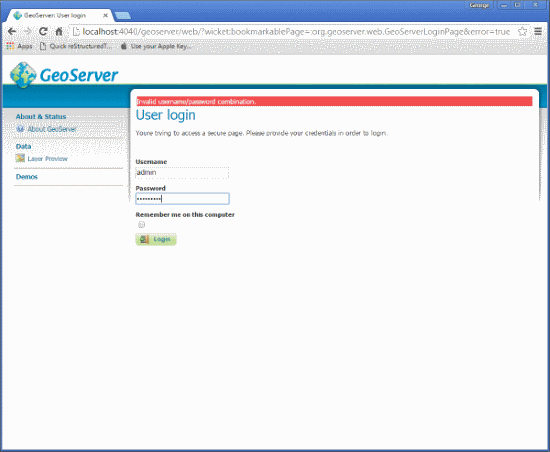
- Click on Global button
- Define the Proxy Base URL parameter as:
http://xx.xx.xx.xx:4040/geoserver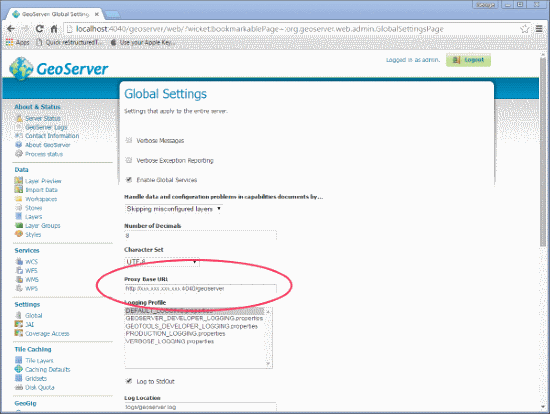
Linux/Ubuntu Installation
Follow Geonode instructions for installing Geonode on your Ubuntu machine.
Get Cartoview code from GitHub and install it as Django App in the Geonode project.
Installation of multiple instances
Documentation not available yet!