Creating a map
Adding layers
Click the Maps link on the top toolbar. This will bring up the list of maps.

Maps page
Click the Create a New Map button to launch the map composition interface.
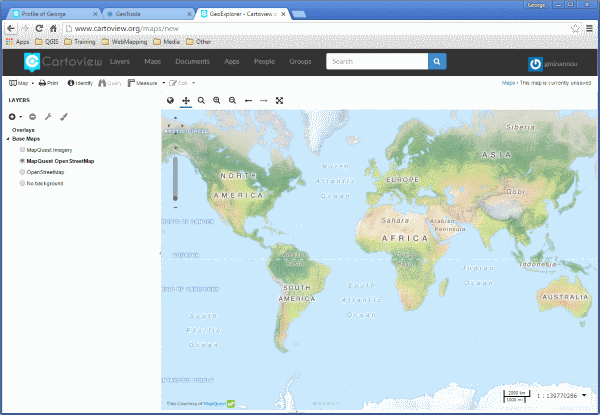
Create maps interface
In this interface there is a toolbar, layer list, and map window. The map window contains the MapQuest OpenStreetMap layer by default. There are other service layers available here as well: Blue Marble, Bing Aerial With Labels, MapQuest, and OpenStreetMap.
Click on the New Layers button and select Add Layers.
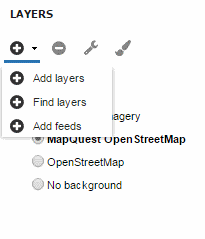
Add layers link
Select all of the San Andreas layers by clicking the top entry and Shift-clicking the bottom one. Click Add Layers to add them all to the map.
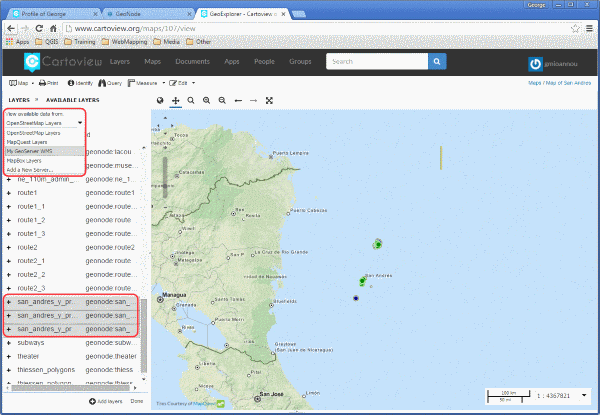
Selecting layers
Note
This selection includes not only the two layers uploaded in the previous section, but also the layers that were already hosted on GeoNode at the beginning of the workshop.
The layers will be added to the map. Click Done (right next to Add Layers at the bottom) to return to the main layers list.
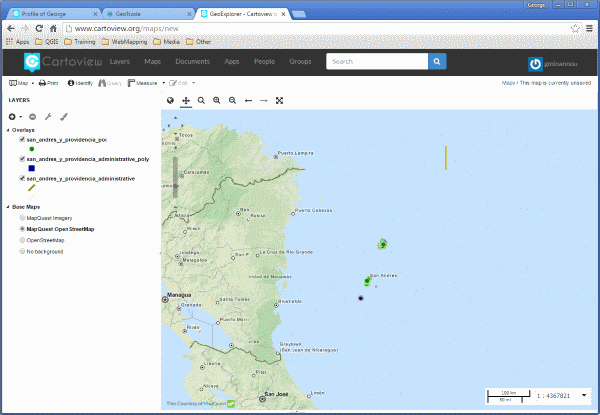
Layers added to the map
Saving the map
While we still have some work to do on our map, let’s save it so that we can come back to it later. Click on the Map button in the toolbar, and select Save Map.
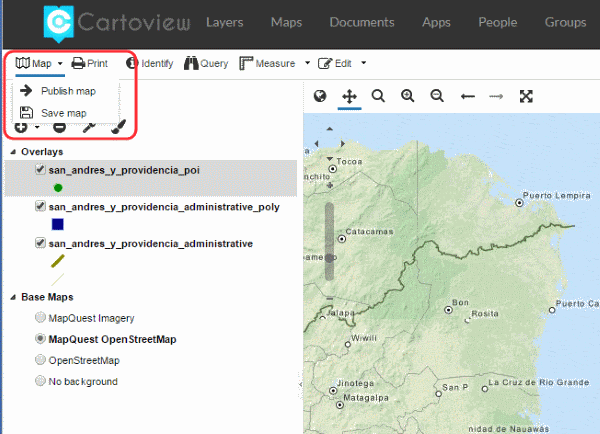
Save map link
Enter a title and abstract for your map.
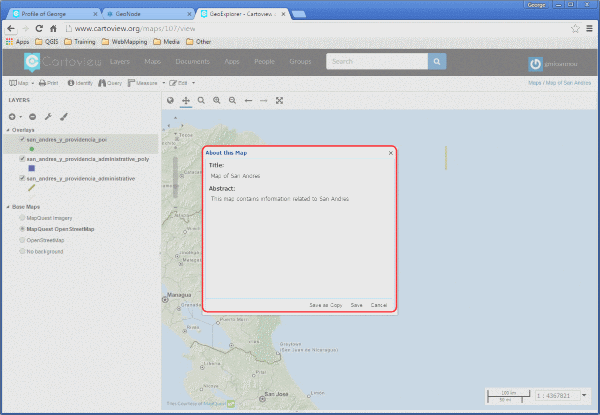
Save map dialog
Click Save. Notice that the link on the top right of the page changed to reflect the map’s name.
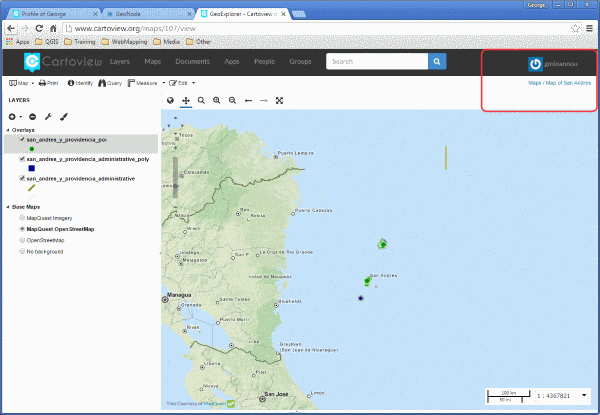
Saved map name
This link contains a permalink to your map. If you open this link in a new window, your map will appear exactly as it was saved.