Uploading a layer
Now that we have taken a tour of GeoNode and viewed existing layers, the next step is to upload our own.
In your data pack is a directory called data. Inside that directory is a shapefile called san_andres_y_providencia_administrative.shp. This is a data set containing ... This will be the first layer that we will upload to GeoNode.
Navigate to the GeoNode welcome page.
Click the Layers link on the top toolbar. This will bring up the Layers menu.

Main toolbar for GeoNode
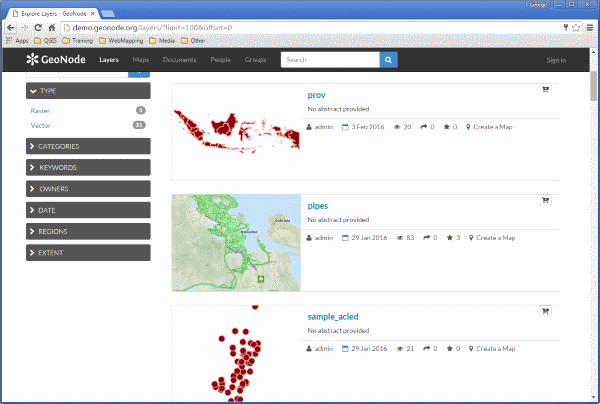
Layers menu
Click Upload Layers in the Layers toolbar. This will bring up the upload form

Layers toolbar
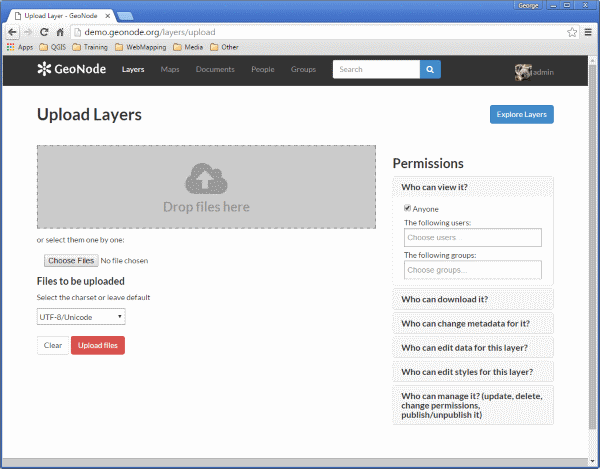
Upload Layers form
Fill out the form.
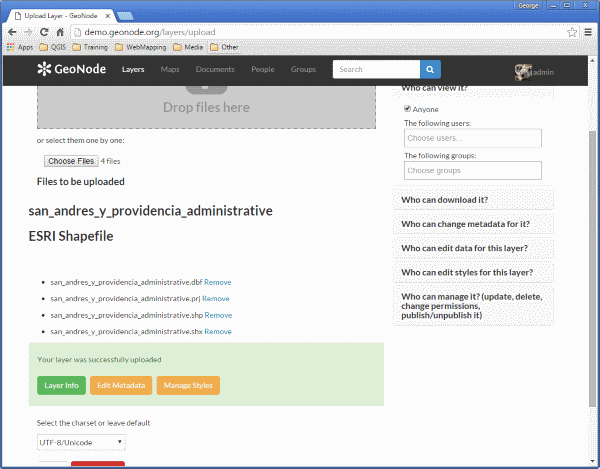
Click the Choose Files button. This will bring up a local file dialog. Navigate to your data folder and select the
san_andres_y_providencia_administrative.*files.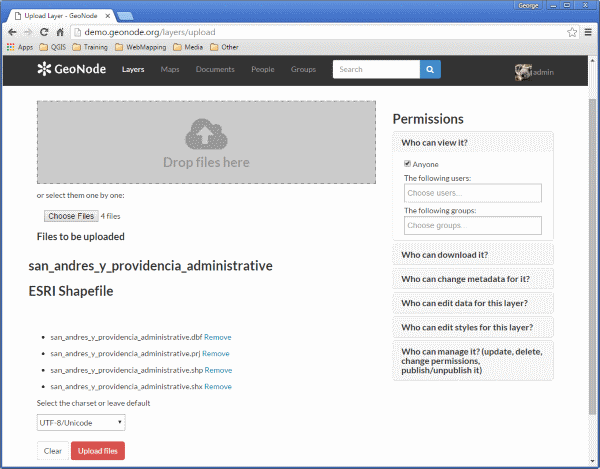
Files ready for upload
GeoNode has the ability to restrict who can view, edit, and manage layers. On the right side of the page, under Who can view and download this data, select Any registered user. This will ensure that anonymous view access is disabled.
In the same area, under Who can edit this data, select your username. This will ensure that only you are able to edit the data in the layer.
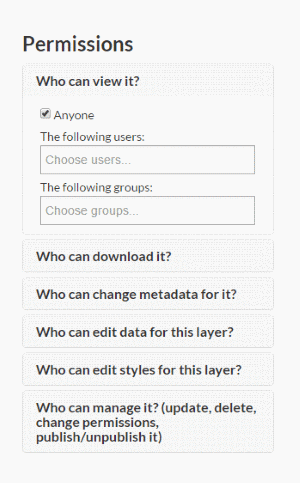
Permissions for new layer
Click Upload to upload the data and create a layer. A dialog will display showing the progress of the upload.
Upload in progress
Your layer has been uploaded to GeoNode.