Layer information
After upload, click Edit Metadata to update metadata about the layer. Change any information as desired, and then click Update at the very bottom of the form.
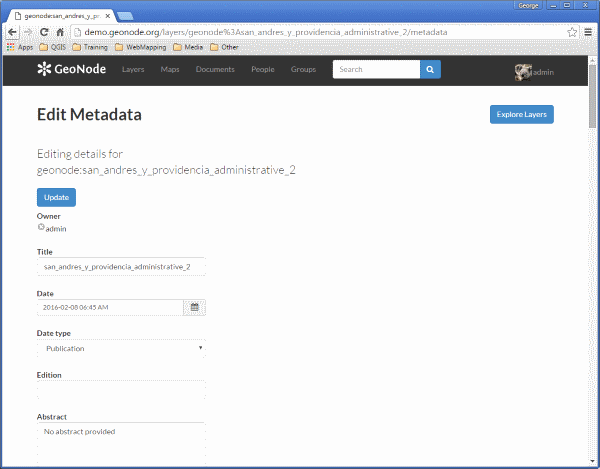
Layer metadata
After the update, the layer will display in a preview window.
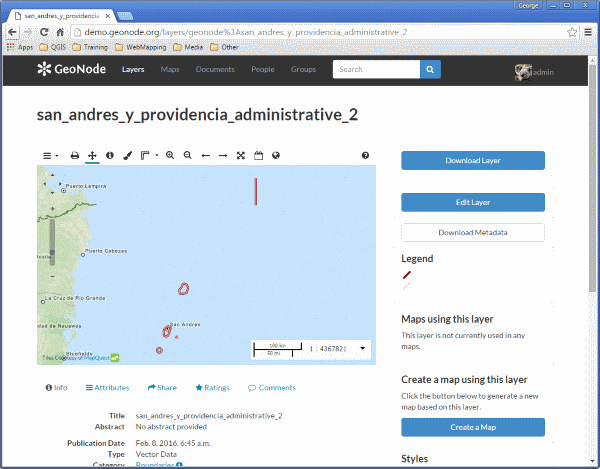
Layer preview
This page contains lots of options for managing this layer. Let’s look at a few of them:
Downloads
At the top right corner of the page there are two buttons titled Download Layer and Download Metadata. These buttons provide access to the ability to extract geospatial data and metadata from within GeoNode. In this way, GeoNode allows for two way data access; one can import as well as export data.
- Click the Download Layer button. You will see a list of options of the supported export formats.
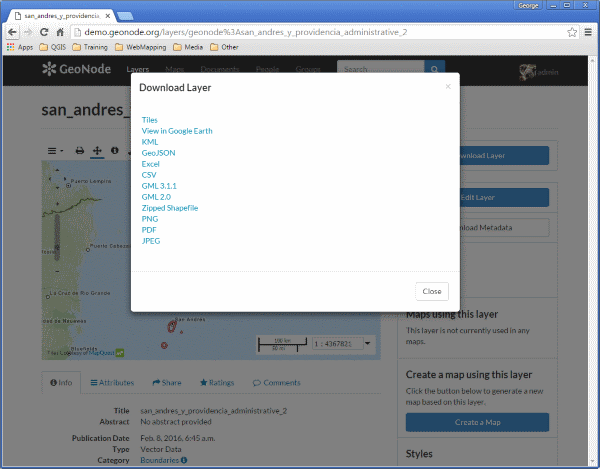
Available export formats
- Click the option for Zipped Shapefile.
- GeoNode will process the request and bring up a Save As dialog. Save this file to your computer, and note how it is the same content as was uploaded.
Metadata
Scroll down the page toward the bottom. Five tabs are available: Info, Attributes, Share, Ratings, and Comments. The info tab is already highlighted, and presents basic information about the layer, of the kind that was seen on the layer list page.
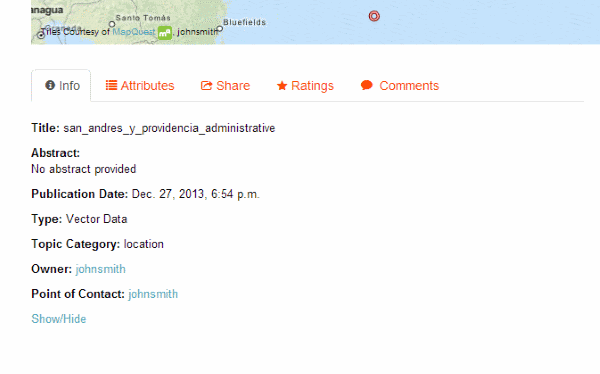
Layer Info tab
Click the Attributes tab. This lists the attributes of the layer, including statistics such as mean and standard deviation (where applicable).
Click the Ratings tab. This tab allows you (and others viewing this page) to rate this layer. Ratings can be based on quality, accuracy, or any other metric. Click on the appropriate star to rate this layer.
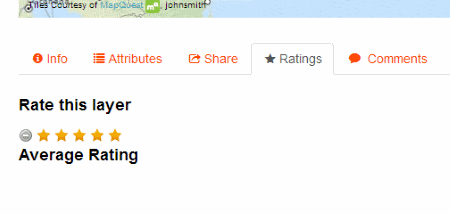
Layer Ratings tab
Click the Comments tab. This tab allows you to leave a comment for other viewing this layer.
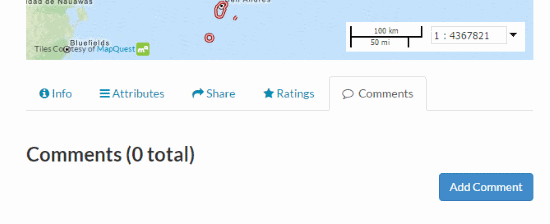
Layer Comments tab
Click the Add Comment button and enter a comment.
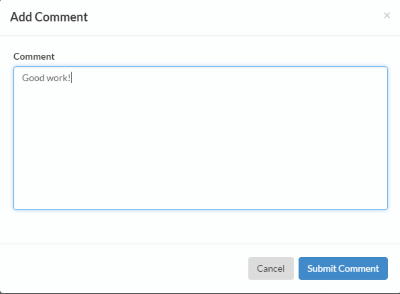
Adding a new comment
When finished, click Submit Comments
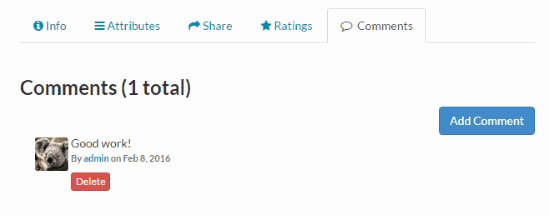
New comment posted